How To Resurface
Concrete
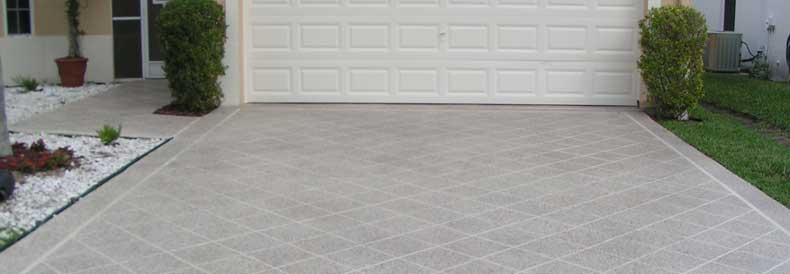
Are you tired of having to deal with your concrete being a damaged aged and overall boring finish? Sadly, concrete is used almost everywhere and in most cases, doesn’t offer a covering in areas like garage floors, driveways and on sidewalks. But if your concrete is starting to show its age, that doesn’t mean that you have to scramble for your nearest concrete contractor to begin planning of replacing your concrete. Today we are going to be outlining how you can save thousands of dollars and weeks of time compared to replacing your concrete, concrete resurfacing! Don’t know the first thing about concrete resurfacing? Don’t worry, today we are going to be outlining how you can resurface concrete! Let’s get started, shall we?
Step One: Cleaning The Surface
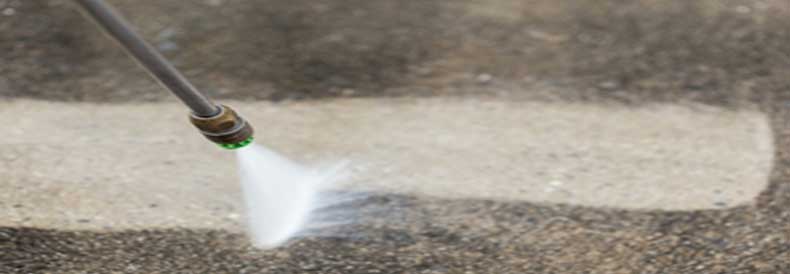
Cleaning the concrete slab is bar far one of the most important steps of concrete resurfacing. When your slab is clean not only will application go smoother, the resurfacing agent will last longer due to a better bond to the concrete. To clean the concrete, you have a couple of options, pressure washing or the use of brushes and Simple Green. For pressure washing, we recommend the use of a high output pressure washer of at least 3500 PSI. When using the Simple Green route, use a stiff bristle brush and work the material in circular motions. Wash down the concrete after you complete every section to avoid any chemicals drying on the concrete. But before you clean your concrete, you should look into what type of resurfacer you are going to need.
Step Two: Choosing The Right Material
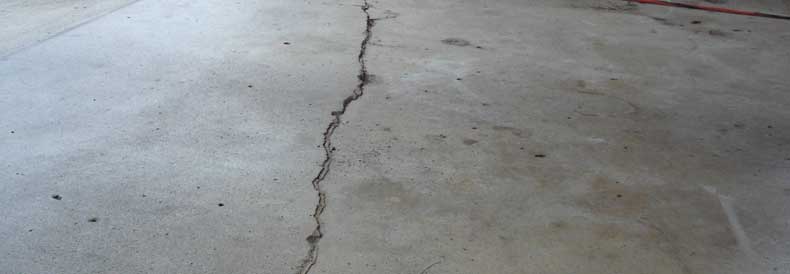
Before you clean your concrete, you are going to want to have the concrete resurfacer on hand and that requires choosing the right material for your specific needs. Not all concrete was created equal and will have different imperfections and different applications. So, when looking for the material that you are going to need, there are some things there are a few things that you need to take into account. Here are a few examples of what you should consider buying your concrete resurfacing micro-topping:
- Is your concrete indoors or outdoors?
- How deep are the cracks or gouges on the slab?
- What are you going to be using the concrete for?
- Are you resurfacing your concrete pool deck?
Step Three: Applying The Material
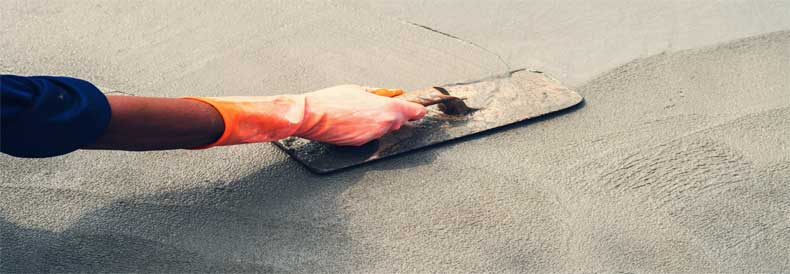
Now that you have your material and the concrete has been cleaned to the best of your ability, it is finally time to apply the material to the slab and make the magic happen! To apply the micro-topping, some tools can make your life much easier like a squeegee, concrete edger, and concrete groover. Not only will these tools make installation easier but also make the resurfaced concrete look the best it possibly can. When applicating the micro-topping, make sure to work one section at a time, there is no rush. The more time you take on each section of the slab will result in a more uniform and smooth finish. Only apply enough material for the desired thickness of the material that you are using which will be outlined on the packaging of said material.
Step Four: Enjoy Your Concrete!
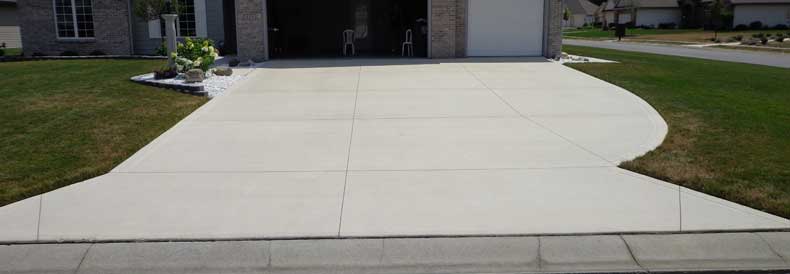
If you have followed these simple steps, you will have no problem at all resurfacing and bringing your concrete back to life! But, if you don’t feel comfortable doing the task yourself, never be afraid to bring a professional contractor on to the project. A professional contractor may require an additional upfront cost but they can offer an added peace of mind with warranties, higher-grade materials, and the knowledge to get the job done right the first time around. It doesn’t matter what path you decide to take, we wish you the best of luck on all of your home improvements to come!
